To tailor a vintage pencil skirt, start by evaluating the fit at the waist and hips; it should hug your curves without pinching. Grab fabric scissors, measuring tape, and tailor's chalk for precise adjustments. Pin any excess fabric and mark your cutting lines. Unpick seams gently, then take in the sides as needed, ensuring the hem remains even. Sew carefully, creating clean seams to avoid fraying. After finishing edges, press everything for a polished look. Personalize your style with embellishments or modern tweaks. Keep exploring for clever tips to perfect your vintage masterpiece!
Assessing the Fit
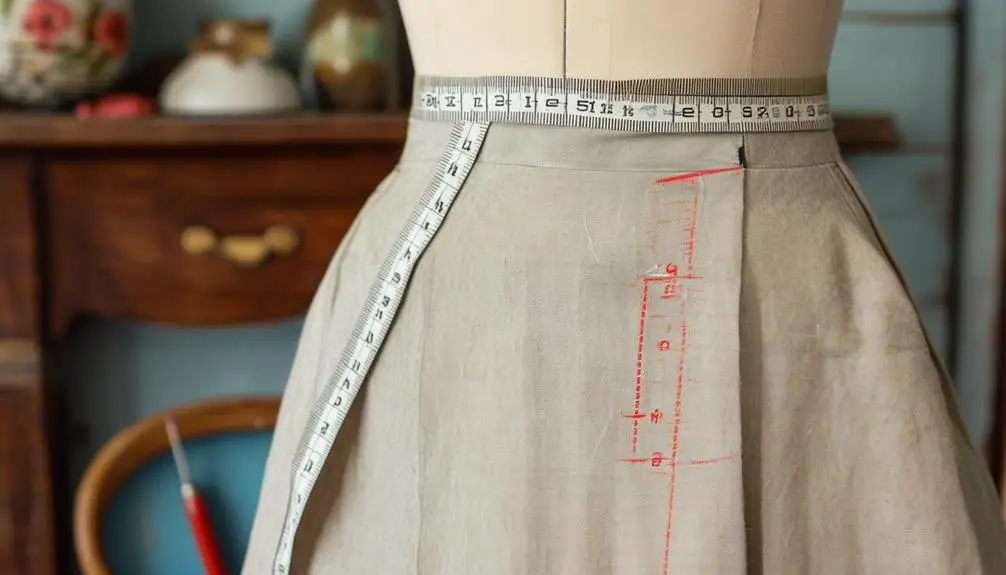
When it comes to evaluating the fit of a vintage pencil skirt, start by focusing on the waist. The waistband should sit comfortably, about 1-2 inches above your natural waistline, without gaping or pinching. If it feels too tight, it's a sign that the skirt needs adjustments.
Additionally, understanding the historical context of the skirt's brand can provide insights into the expected fit and style, which can enhance your tailoring process vintage clothing characteristics.
Next, move to the hip line; the skirt should hug your curves while allowing for ease of movement. You want a snug fit that doesn't restrict you, so make certain you can walk and sit without discomfort.
Now, check the side seams for any excess fabric. If you notice any bunching or looseness, the skirt may need to be taken in for a sleeker silhouette. The hemline is just as important; it should be even and aligned to maintain a polished look.
Finally, measure the length of the skirt to verify it hits at your desired point—whether knee-length, midi, or ankle-length—matching your personal style and occasion.
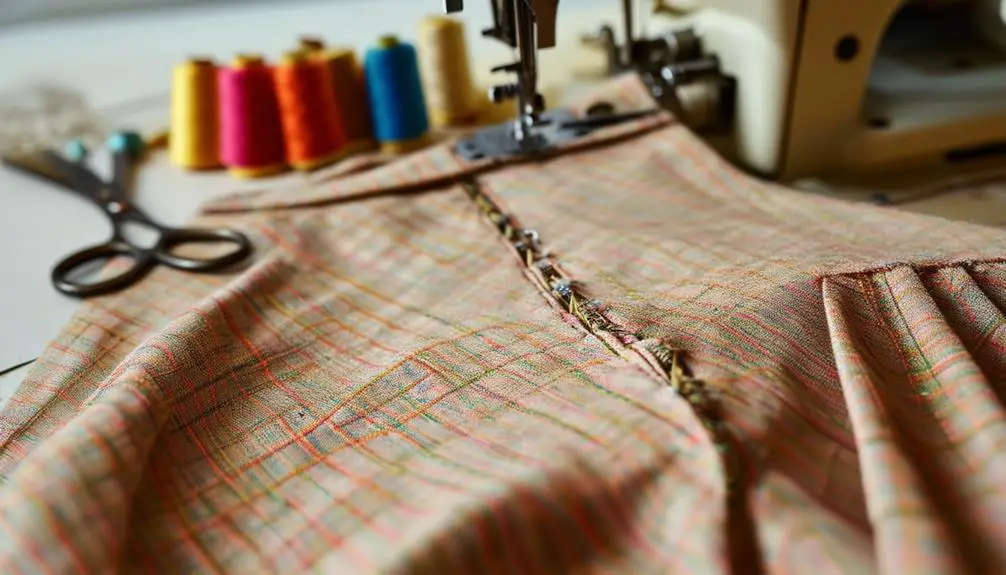
Tools You Will Need
To achieve the perfect fit for your vintage pencil skirt, having the right tools on hand makes all the difference. Start with a measuring tape—it's fundamental for taking accurate body measurements. This guarantees your skirt hugs your curves in all the right places.
Next, you'll need a good pair of fabric scissors. These are critical for making clean cuts when adjusting the skirt's length or shape, preventing fraying and guaranteeing a polished look.
Additionally, tailor's chalk is your best friend for marking alterations directly on the fabric. It allows you to make temporary markings without leaving permanent stains, giving you the freedom to adjust as needed.
You'll also want a reliable sewing machine to stitch those alterations. A good sewing machine assures durable, professional-looking seams, which are essential for a polished final product.
Lastly, don't forget about pins and clips. They're indispensable for holding the fabric in place during the alteration process, guaranteeing everything aligns perfectly before you sew.
With these tools at your side, you're well on your way to tailoring a vintage pencil skirt that fits like a glove.
Marking Adjustments
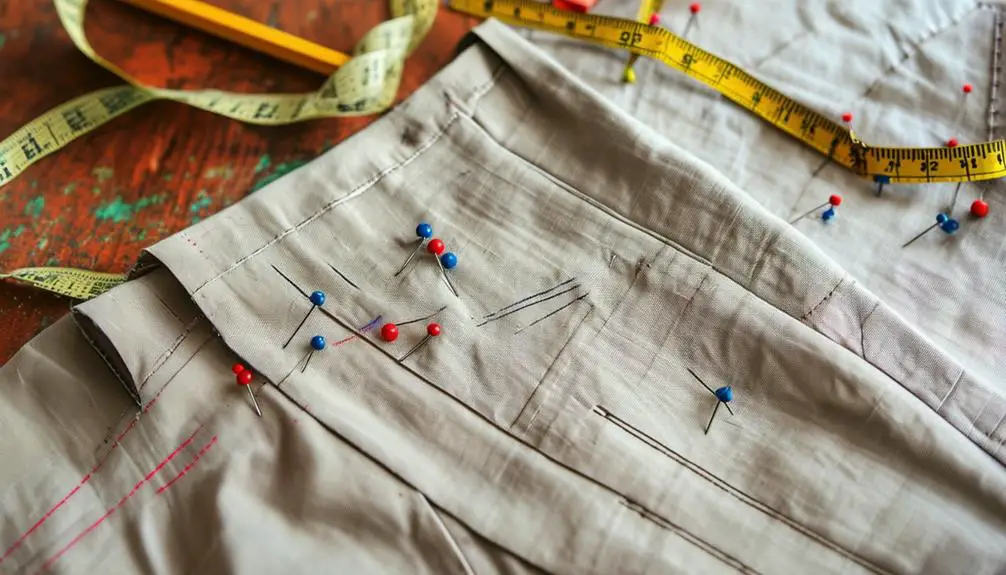
Marking adjustments on your vintage pencil skirt is an essential step in achieving a perfect fit that flatters your silhouette. Start by wearing the skirt and pinning any excess fabric in areas that need adjustment, especially around the waist and hips. This visual aids in determining how much to take in.
Next, grab your measuring tape to take accurate measurements of your waist and hips, as well as the desired skirt length. Use tailor's chalk or fabric markers to clearly mark these points on the fabric. When marking adjustments, create a definitive line for cutting, typically leaving a 1/2 inch for seam allowance.
Don't forget to note any changes required for the lining if your skirt has one. If you're altering the waist, be sure to mark both the center back and side seams. This guarantees balanced adjustments around the entire waistband.
After making your initial markings, try the skirt on once more to confirm that the adjustments feel right before you proceed with cutting or sewing. This careful process helps you avoid unnecessary alterations and guarantees your skirt fits perfectly.
Unpicking Seams
Unpicking seams can feel intimidating, but with the right tools and techniques, it becomes a straightforward task. Start by grabbing a seam ripper, your best friend for this job.
Vintage pieces, like those from Betty Barclay, often feature quality fabric and craftsmanship, which makes careful unpicking even more essential. Position it at the seam allowance—this is where the fabric is stitched together. Gently slide the sharp tip of the seam ripper under the threads and make small cuts to unpick the stitches. Keep the fabric taut as you work, which prevents any pulling that could distort the material.
Be mindful to unpick both the outer fabric and any lining, especially if they're stitched together. This step is vital for maintaining the skirt's integrity and structure, guaranteeing you don't compromise the overall shape.
As you unpick, pay attention to the direction of the fabric grain; this will help preserve the skirt's silhouette during future alterations.
Once you've finished, take a moment to clean away any lingering threads from the fabric. This guarantees a smooth surface for re-sewing or adjustments, setting you up for success as you tailor your vintage pencil skirt to perfection.
Taking in the Sides
Adjusting the sides of your vintage pencil skirt can transform its fit and enhance your silhouette. Start by trying the skirt on and marking where it needs to be taken in, usually around the waist and hips. Use a measuring tape to decide how much fabric to remove—generally between 1/2 inch to 1 inch on each side, depending on how snug you want the fit to be.
Next, carefully unpick the side seams with a seam ripper. Make sure you're only removing the stitching; you don't want to damage the fabric.
Once the seams are undone, pin the new seam lines in place, ensuring the original hemline and shape remain intact for a seamless look.
With the seam lines pinned, it's time to sew. Use your sewing machine to stitch along the new lines, and don't forget to finish the edges to prevent fraying.
Adjusting the Hem
A perfectly tailored hem can elevate the look of your vintage pencil skirt, giving it a fresh and polished appearance. To achieve this, follow these easy steps:
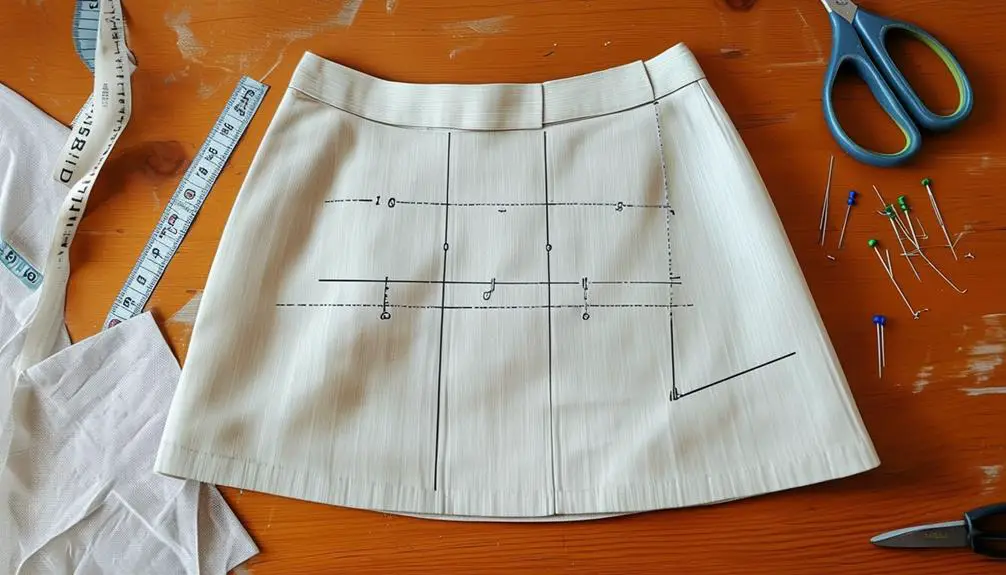
- Try On the Skirt: Put on your pencil skirt and decide on your desired length. Mark it with tailor's chalk before removing it for alterations.
- Measure Carefully: Use a measuring tape to guarantee the new hemline is even all around the skirt. This step is essential for a professional finish.
- Cut with Precision: Cut the fabric, leaving an extra 1/2 inch for seam allowance. If the fabric is delicate, consider using a rotary cutter for a clean edge.
- Fold and Sew: Fold the hem up twice and pin it in place. Sew a straight stitch along the folded edge, making sure to backstitch at the beginning and end for added durability.
Re-sewing the Seams
When it's time to re-sew the seams of your vintage pencil skirt, start by carefully unpicking the existing stitches with a seam ripper. This tool helps you avoid damaging the fabric, allowing you to preserve the skirt's beauty.
Once the old seams are removed, align the fabric pieces right sides together and pin them in place. This step's essential for guaranteeing an accurate fit according to the skirt pattern.
Next, use a straight stitch with a 1/2 inch seam allowance, which is standard for most pencil skirts. As you sew, keep an eye on the fabric to make certain it feeds evenly through the machine.
After you've completed the sewing, press the seams open with an iron. This reduces bulk and gives your skirt a polished finish, maintaining its original shape.
If you're working with delicate fabric, consider using a zigzag stitch along the raw edges to prevent fraying. This simple technique can notably extend the garment's lifespan, keeping your vintage pencil skirt looking fabulous for years to come.
Finishing Edges
After re-sewing the seams, your next step is to finish the edges of your vintage pencil skirt to enhance its durability and appearance. Properly finishing the edges not only prevents fraying but also gives your skirt a polished look.
Here are some methods to take into account:
- Zigzag Stitch: Use a zigzag stitch along the raw edges to prevent fraying. This is a quick and effective method for most fabrics.
- Sergers: If you have access to a serger, utilize it for a professional finish that neatly encases the edges.
- Bias Tape: For lightweight or delicate fabrics, encase the raw edges with bias tape. This gives a neat and tidy appearance while reinforcing the fabric.
- Hemming: Finally, hem the bottom edge of the skirt using a double-fold hem. Not only does this provide a clean finish, but it also adds weight to the hemline for a flattering drape.
If your skirt has a lining, make sure to finish the lining edges with a straight stitch or French seam. This way, you'll guarantee that no raw edges peek through.
Pressing for a Polished Look
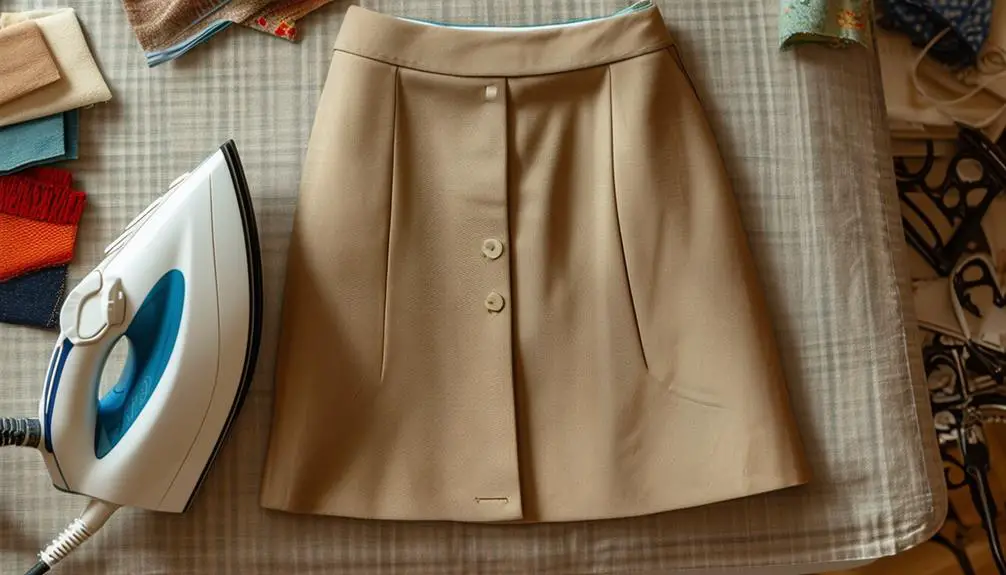
To achieve a polished look for your vintage pencil skirt, pressing is an essential step that shouldn't be overlooked. After each sewing step, take a moment to press your seams. This vital practice helps flatten the seams and properly shape the skirt, leading to a professional finish that you'll be proud of.
Begin by using a steam iron set to the appropriate temperature for your fabric type. Be cautious with delicate materials to prevent scorching or damage.
When it's time to press darts, employ a tailor's ham or a rounded surface. This technique maintains the shape of your darts and prevents flattening their dimension, ensuring they look crisp and tailored.
Always remember to press from the inside of the garment. This method avoids leaving marks on the fabric's surface, giving you that clean appearance you desire.
Finally, don't skip the last pressing of the entire skirt. A light steam removes any lingering wrinkles, enhancing the overall polished look of your finished garment.
With these pressing techniques, your vintage pencil skirt will radiate sophistication and style, ready for any occasion.
Personalizing Your Style
A polished vintage pencil skirt serves as a perfect canvas for showcasing your unique style. By personalizing this timeless piece, you can transform it into a wardrobe staple that truly reflects who you are.
Here are some ways to tailor your skirt and make it one-of-a-kind:
- Fit Adjustments: Take in the waist or adjust the hemline for a flawless fit that complements your body shape.
- Unique Embellishments: Add lace trims, decorative buttons, or even patches to enhance the vintage aesthetic and create a distinctive look.
- Fabric Experimentation: Pair your pencil skirt with modern stretch materials for a stylish contrast, giving your outfit a contemporary twist.
- Functional Alterations: Incorporate a back vent or side slits for increased comfort and mobility while maintaining that chic silhouette.
Don't forget about accessories! Bold necklaces or vintage brooches can elevate your outfit, showcasing your individual fashion sense.
Frequently Asked Questions
How to Fix a Loose Pencil Skirt?
To fix a loose pencil skirt, measure your waist and hips, mark excess fabric, and pin it. Sew along new seams, press them, and reattach any lining for a polished, snug fit. You're ready to shine!
How to Shorten a Pencil Skirt?
To shorten a pencil skirt, measure the desired length, mark it, and cut straight. Fold the hem under, pin it, sew with a straight stitch, and finish by pressing for a polished look. Enjoy your tailored piece!
How Do You Make a Pencil Skirt More Casual?
To make a pencil skirt more casual, pair it with a relaxed t-shirt, opt for sneakers, and layer with a denim jacket. Add playful accessories to create a fun, laid-back vibe that balances the tailored silhouette.
Where Does the Hem Fall on a Pencil Skirt?
The hem of a pencil skirt typically falls at the knee or mid-calf, depending on your style. Aim for the narrowest part of your leg for a flattering silhouette that enhances your overall look.