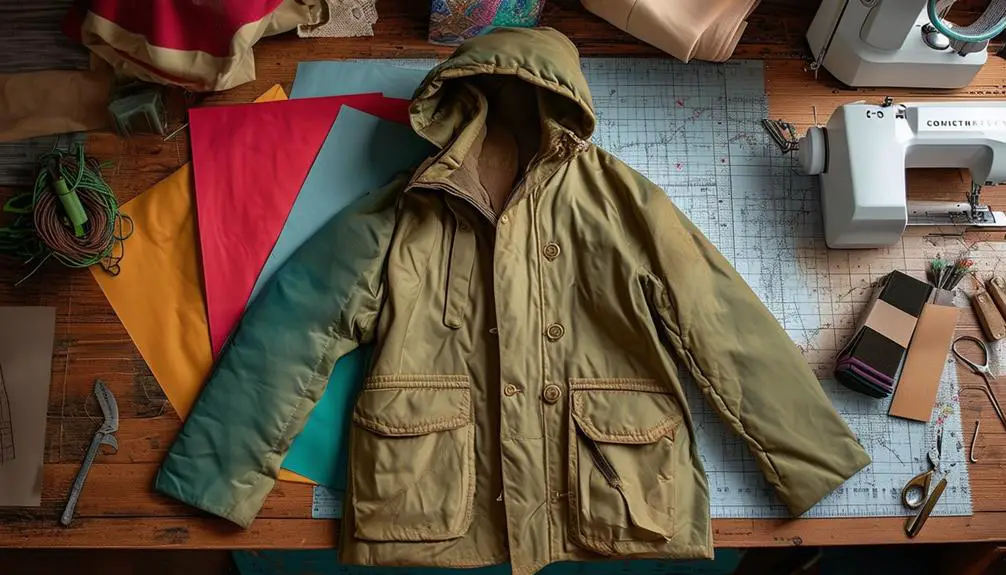
Tailoring a vintage parka is all about achieving the perfect fit while preserving its unique character. Start by trying it on to assess the fit around the shoulders, waist, and length—aim for mid-thigh length for a flattering look. Adjust the waist to remove excess fabric while keeping the shoulders intact. Don't forget about sleeve length; trim them as needed for comfort and style. Consider updating buttons and zippers to refresh its appearance. Collaborating with a local tailor can provide personalized insights, ensuring your vintage parka not only looks great but feels great too. There's plenty more to uncover!
Assessing the Fit

Evaluating the fit of your vintage parka is the essential first step in achieving a tailored look. Start by trying it on and examining key areas: shoulders, chest, waist, and length. Pay special attention to the shoulders; if they're too wide or narrow, it'll throw off the entire appearance. You want the shoulder seams to align perfectly with your natural shoulder line for a polished finish.
Understanding the historical context of brands can be particularly helpful here; for instance, certain vintage labels may indicate specific tailoring techniques that affect fit and style. Additionally, vintage clothing trends by era often influence how pieces should be tailored to reflect their original design intent.
Next, consider the length. Ideally, your parka should fall around mid-thigh, offering coverage while flattering your silhouette. Check the waist for any excess fabric, particularly at the side seams, as vintage parkas often come with a looser cut. This extra fabric can make the piece look bulky, so it's worth noting if it feels oversized.
If your parka has shoulder pads, think about removing them to enhance your natural shoulder shape. A more streamlined fit not only modernizes the look but also guarantees comfort.
Essential Tailoring Techniques
Once you've assessed the fit of your vintage parka, the next step involves implementing some key tailoring techniques to refine its silhouette.
Start by focusing on the waist, which can be particularly important for vintage styles that may have unique design elements. Adjusting this area can create a more flattering look while keeping the shoulders and arms intact. This balance is vital for maintaining the parka's overall charm, especially when paying attention to identifying vintage clothing nuances.
Before you cut any seams, consider the fabric type and condition. If your parka is filled with down, alterations can be tricky, so proceed with caution.
If you find the fit too snug, reverse tailoring techniques can help. Adding fabric panels can enhance comfort without sacrificing style.
Don't overlook the length of your parka, either. Adjusting the hem can notably improve its appearance, but make sure it remains practical and warm for those chilly winter days. A well-placed seam can make all the difference.
If you're unsure about your skills, collaborating with a local tailor is a wise choice. They can provide personalized insights and recommendations tailored to your vintage parka's unique characteristics, guaranteeing you achieve that perfect fit and flattering look.
Adjusting Sleeve Length
When it comes to adjusting the sleeve length of your vintage parka, getting the fit just right can dramatically enhance your overall look. Start by trying on the jacket to determine how much length to remove—typically between 1 to 3 inches, depending on your personal style. Mark your desired sleeve length before carefully unpicking the seams at the cuff area to access the hem.
Here's a simple guide to help you through the process:
- Use a seam ripper to detach any cuff details or finishes that may need reattachment.
- After cutting the sleeves to your new length, finish the raw edges with a serger or zigzag stitch to prevent fraying.
- Reattach the lining and cuff details, making certain of a clean finish, and press the sleeves to maintain that polished appearance.
With each step, you'll guarantee your vintage jacket not only looks great but feels comfortable too.
Modifying the Waistline
To achieve a more tailored look with your vintage parka, start by trying it on and pinpointing where you'd like the waistline to sit for that flattering silhouette. Once you've marked the ideal spot, grab a seam ripper and carefully unpick the bottom hem and side seams. This'll give you access to the waist area for adjustments.
Next, remove excess fabric from the side seams—typically around 1 to 2 inches per side—while making sure the overall length of the jacket remains consistent. If your parka has a lining, don't forget to adjust it as well. This guarantees a smooth finish and keeps everything looking sharp.
After you've made your adjustments, it's time to re-sew the side seams. Pay attention to how the fabric falls to maintain the parka's original style.
Finish by re-hemming the bottom of the jacket, ensuring that the new waistline creates a flattering fit. With these modifications, your vintage parka won't only look great but also fit comfortably, enhancing your overall style. Enjoy your newly tailored piece!
Updating Buttons and Zippers
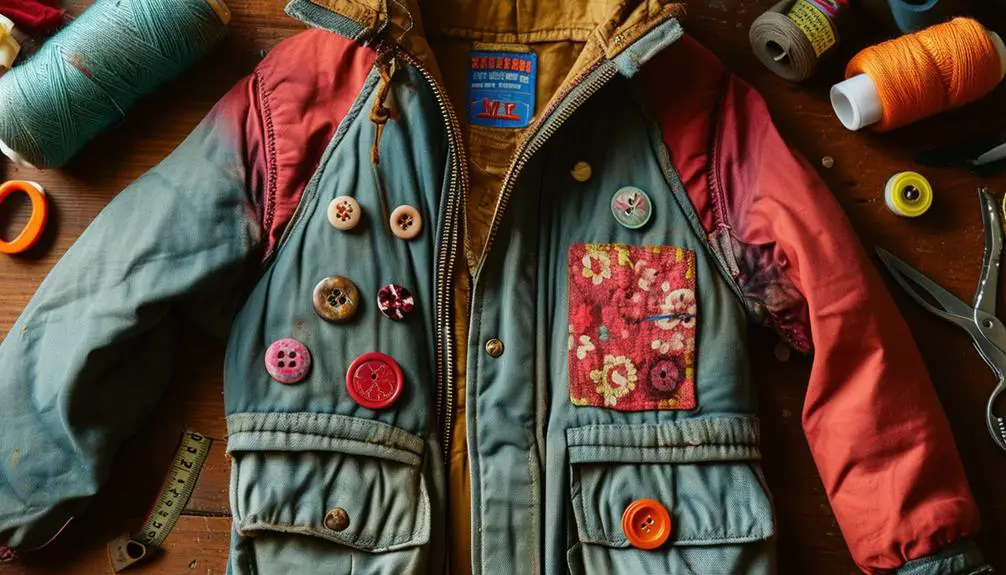
With your vintage parka's waistline now tailored for a perfect fit, it's time to give attention to the buttons and zippers that can dramatically change its look and functionality.
Replacing old buttons with shiny new ones can refresh your parka's aesthetic, making it feel vibrant and new again. Adjusting button placement may also be necessary to guarantee comfort and accommodate any changes in your body size.
When it comes to zippers, compatibility is key. A broken zipper can render your jacket unwearable, so you'll want to choose replacements that match the parka's design and functionality.
Tailors can customize zippers, allowing you to add a unique twist that reflects your personal style.
Consider these tips when updating your vintage parka:
- Choose buttons that complement the fabric and color for a cohesive look.
- Select zippers that are sturdy yet stylish, enhancing both function and fashion.
- Regularly check and maintain buttons and zippers to prolong your parka's life.
Cleaning and Maintenance Tips
Maintaining your vintage parka is essential for guaranteeing its longevity and keeping it looking sharp throughout the seasons. Start by dry cleaning your parka at the beginning of winter. This removes dirt and prevents dullness, so it looks fresh. Pay attention to the weather forecast before cleaning; damp conditions can set in stains, making them harder to remove.
During the off-season, store your parka in a cool, dry place to avoid mold and mildew. Regularly inspect the jacket for any loose seams, broken zippers, or worn-out buttons. Addressing these issues promptly not only keeps the jacket functional but also enhances its aesthetic appeal.
For daily upkeep, use a lint roller or a soft brush to remove dust and pet hair. This simple cleaning tip guarantees your parka remains well-maintained between deeper cleanings.
Customizing With Fusible Interfacing
Keeping your vintage parka in top shape goes beyond cleaning and maintenance; customizing it can elevate both its function and style. One effective way to achieve this is through the use of fusible interfacing. This material provides added structure and support, guaranteeing your parka maintains its shape without adding unnecessary bulk—especially beneficial for heavier fabrics.
When customizing, here are key points to take into account:
- Choose the right weight: Use lightweight interfacing for delicate fabrics, medium for standard materials, and heavyweight for substantial ones.
- Pre-shrink your interfacing: This prevents size discrepancies later, ensuring compatibility after washing.
- Cut on the bias: For tailored areas like lapels and collars, cutting interfacing on the bias allows for better shaping and adherence to curves.
Applying fusible interfacing requires careful temperature control with your iron. Always follow the manufacturer's instructions to achieve a seamless finish without damaging your fabric.
With these tips, you'll not only enhance the look of your vintage parka but also guarantee it remains functional and stylish for years to come.
Building a Tailor Relationship
Building a strong relationship with a local tailor can transform your vintage parka into a personalized masterpiece. When you invest time in building a tailor relationship, you reveal a treasure trove of benefits. Your tailor becomes familiar with your unique style preferences and fit requirements, allowing them to work with you seamlessly. This trust enhances your tailoring experience, ensuring your vision for alterations is realized effectively.
Regular communication is key. Don't hesitate to discuss your ideas and ask questions about fabric choices or seam allowances. This dialogue not only clarifies your expectations but also helps your tailor understand the nuances of your style. Over time, you'll develop a partnership that leads to consistently satisfying results.
Moreover, supporting local tailors fosters a sense of community and promotes sustainable fashion practices. As you collaborate, you'll gain insights into traditional craftsmanship and techniques, enriching your overall tailoring experience.
Frequently Asked Questions
Can a Parka Be Tailored?
Yes, you can tailor a parka, but it's tricky. The bulky fabric and insulation limit alterations. Minor adjustments are usually possible, so consider consulting a skilled tailor to maintain the garment's warmth and style.
Can You Tailor a Jacket That Is Too Big?
Yes, you can tailor a jacket that's too big. By adjusting side seams, you'll create a more fitted silhouette while preserving comfort. A skilled tailor can enhance its style and guarantee a perfect fit tailored just for you.
How to Alter a Coat to Make It Smaller?
To alter a coat and make it smaller, start by evaluating the fit. Unsew seams carefully, cut excess fabric, and adjust armholes. Take your time; a well-fitted coat enhances your style and comfort.
How to Reduce the Size of a Jacket?
To reduce a jacket's size, assess the fit first. Unpick seams, take in fabric, and reshape sleeves. Adjust the lining if needed, then reassemble carefully to guarantee a polished finish and comfortable wear.